Video / jpgs etc are stored to a hard drive on another Rpi which works as my 'home server'. I was a little worried about the wear on the SD card storing many, many pictures / videos locally, so this should make it last a little longer. Once the Pi is in the birdbox, it cannot be touched from the time the birds nest to the time they've all left - this can be something like February to June.
I addressed the focus issue by putting a lens from a (very) old camera in front of the Pi. I believe this is something close to +4 dioptre lens.
OK - so I've got the software / hardware working pretty much as I want - time to put the whole lot in the bird box and see how it works. The bird box is normally about 10ft up the wall outside - a long (network) cable with usb sockets each end runs through the wall and inside. Originally this was running a USB webcam without too many issues, however each time I put the Pi at the end of this cable and powered it from inside I was getting issues. - The Pi would reboot, and the picture from the camera was very 'iffy'. I think this is probably due to the voltage being too low on reaching the Pi through this long wire (and driving just with a phone charger. I will need to address this, and have a plan to do so which I will document later.
The other problem was that the 'Pi Eye' single LED illuminator proved inadequate - here's a picture with the light turned on:-
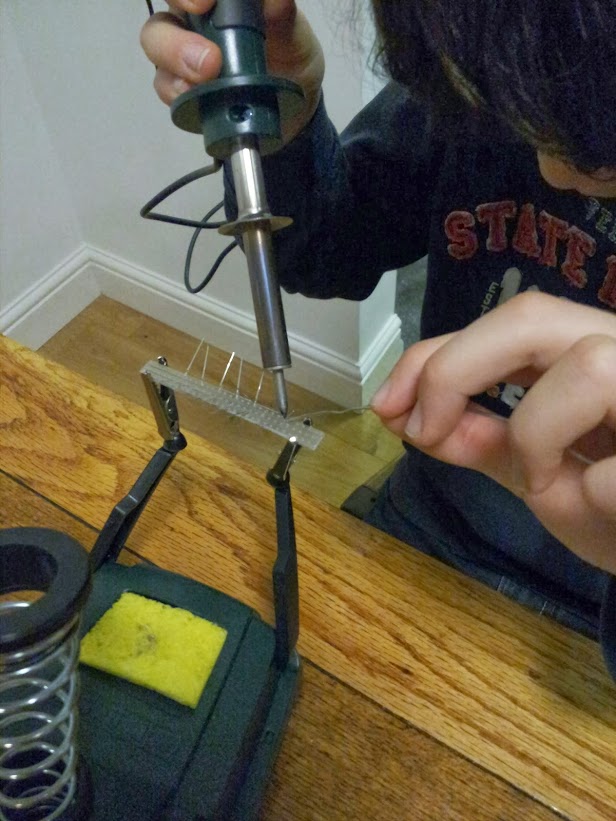
Here are the light clusters being made up by my trusty assistant. Given he's very little experience soldering, there was no rework required and they worked first time.

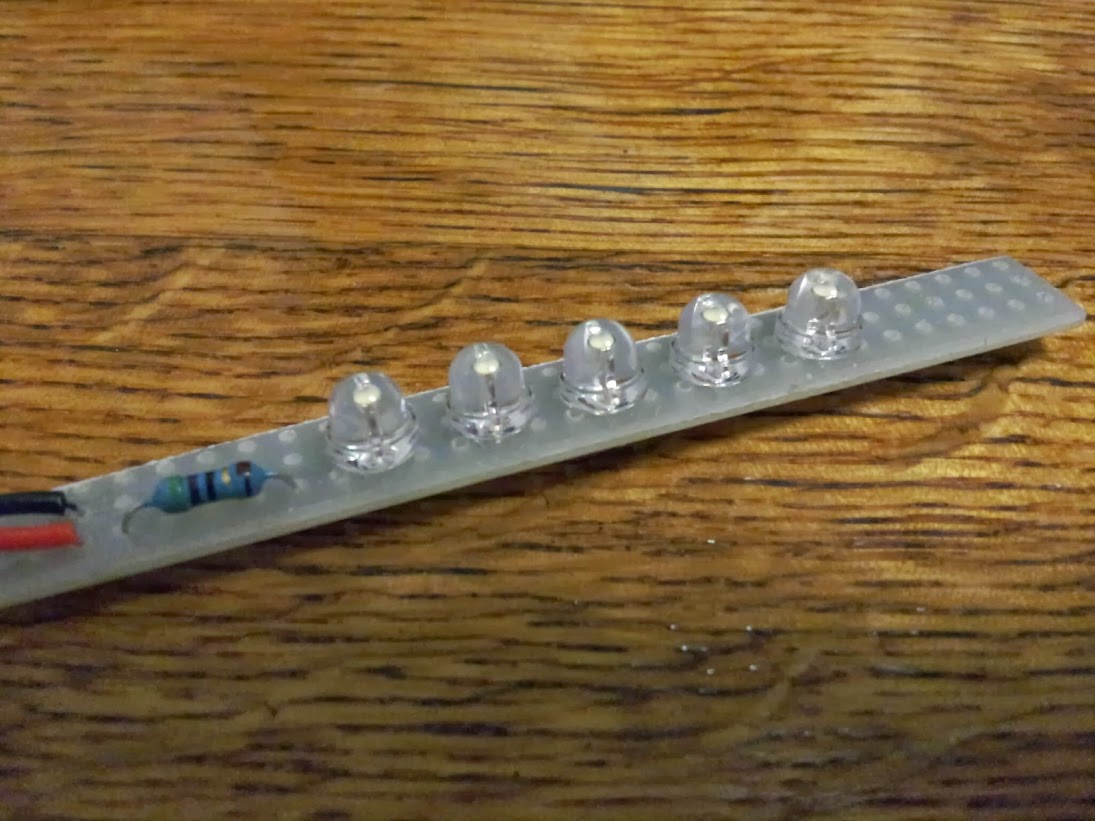
One of the two finished illuminators.

We wrapped the finished lights in heatshrink to insulate them, and then cut out a hole for the LED's. - All very satisfactory. I connected these to GPIO's 17 and 18 so I can control the two lights independently. I then modified the programs to control the lights so that I now have three settings DAY - both lights on, DUSK - one light on, and NIGHT - both lights off. It will be simple to automate the turning on / off of the lights as required so as not to upset the birds.
Here's an example with one of the lights on:-
And here with both lights on:-
Definitely an improvement. Focus isn't spot on, but should be close enough as can be seen in the images above.
The observant amongst you will note that these are not birds in the box, but in fact lego people - They are ideal for testing as they don't move much, and provide a good small target to assess colour and focus.
Next step is to address powering the Pi in the bird box, but I need to wait for another ebay delivery for that.


No comments:
Post a Comment
Note: only a member of this blog may post a comment.